The Best Way To Set A DeEsser For A Great Sounding Voice-Over
Apr 29, 2024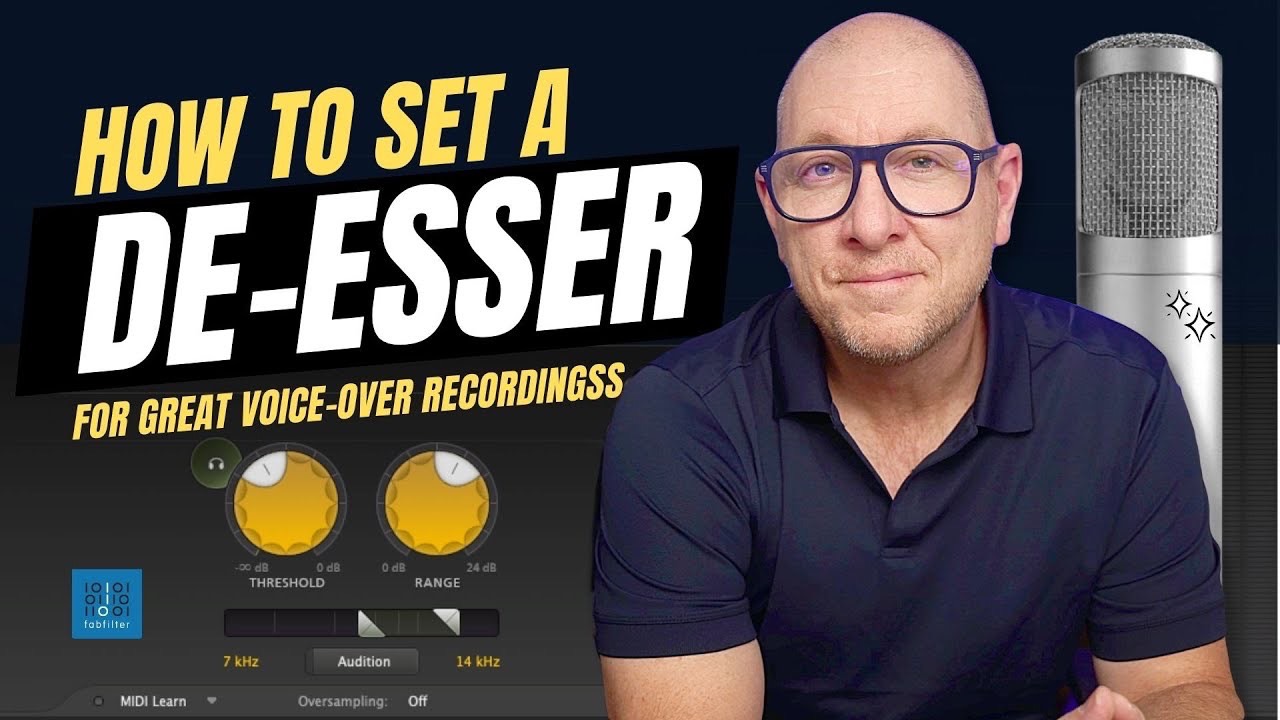
The best de-esser setting for voice-over is not one specific frequency or threshold. Every voice, microphone, room, and processing chain is different.
The goal is to identify where excessive sibilance is actually occurring, then reduce only as much as necessary without making the voice sound dull, unnatural, or overprocessed.
In this article, I’ll explain what a de-esser does, when you should use one, when you probably should not, and the method I use to set one for professional voice-over recordings.
In the video below, I demonstrate this process on a real voice-over recording so you can hear what the de-esser is actually changing.
What Is a De-Esser?
A de-esser is a specialized type of compressor designed to control excessive sibilance.
Sibilance is the sharp high-frequency energy you often hear in sounds such as:
-
S
-
SH
-
Z
-
CH
A de-esser allows you to focus compression on a particular frequency range instead of compressing the entire voice.
That means the processor can react only when those frequencies become excessive while leaving the rest of the recording relatively untouched.
Most DAWs include a stock de-esser, and there are also many third-party options available.
Some examples include FabFilter Pro-DS, iZotope RX, Waves Scheps Omni Channel, and other processors that include dedicated de-essing or dynamic EQ functions.
The specific plugin matters less than understanding what you are listening for and how the controls work.
Why Use a De-Esser for Voice Over?
There are several reasons a voice-over recording may need de-essing.
A voice artist may naturally have stronger sibilance because of their voice, mouth shape, teeth, or speaking style.
A microphone may also emphasize certain upper frequencies and make those sounds more noticeable.
Another common situation occurs after EQ.
If a recording needs a significant high-frequency boost to create more clarity or presence, that EQ adjustment can also exaggerate the S and SH sounds.
A de-esser can help bring those frequencies back under control.
But that does not mean every harsh or bright recording should be fixed with a de-esser.
When a De-Esser Is the Wrong Solution
Before adding a de-esser, determine why the recording sounds harsh or overly sibilant.
Sometimes what appears to be excessive sibilance is actually being created or exaggerated by the raw recording itself.
Room reflections, microphone position, an overly bright microphone, or other capture problems can create an unnatural buildup of high-frequency energy.
If the problem originates in the recording environment, simply adding more processing may not be the best solution.
In that situation, I would first improve the raw recording and then reassess whether de-essing is still necessary.
This is an important distinction.
A de-esser should correct excessive sibilance.
It should not be used automatically to compensate for a recording problem that should have been solved earlier in the signal chain.
How Does a De-Esser Work?
Most de-essers contain two primary controls.
Frequency
The frequency control determines which area of the frequency spectrum the processor monitors.
This allows you to target the region where the excessive sibilance is occurring.
Threshold
The threshold determines how loud the targeted frequencies must become before gain reduction begins.
This is what allows the de-esser to react mainly to problem sounds rather than constantly reducing high frequencies.
Depending on the plugin, you may also find controls for:
-
Filter shape
-
Frequency range
-
Detection mode
-
Sidechain listening
-
Gain reduction amount
-
Attack and release behavior
A sidechain or listen function can be especially useful because it allows you to hear only what the de-esser is detecting.
That can make it much easier to identify whether you are targeting the correct frequency range.
How to Set a De-Esser for Voice Over
Here is the basic procedure I use.
Step 1: Listen for the Actual Problem
Before changing any settings, listen carefully to the raw or processed recording.
Ask yourself:
Is the voice actually too sibilant?
Or is the entire upper-frequency range harsh or unbalanced?
You want to solve the real problem rather than automatically reaching for a de-esser.
Step 2: Identify the Sibilant Frequency Range
Next, determine where the excessive S or SH energy is occurring.
You can do this by ear, but a real-time frequency analyzer can also be useful.
I often use an analyzer to watch the upper-frequency spectrum while listening to problem words.
Tools such as the Waves F6 Floating-Band Dynamic EQ or frequency-analysis tools inside iZotope products can make these peaks easier to identify visually.
The exact frequency will vary from person to person.
That is why I do not recommend simply copying a frequency setting from another voice-over artist.
Step 3: Set the De-Esser Frequency
Once you have identified the problem area, set the de-esser's detector or frequency control to focus on that region.
If your plugin includes a sidechain listen function, use it.
Ideally, you should hear the unwanted S and SH sounds clearly without hearing large amounts of the rest of the voice.
Step 4: Adjust the Threshold
Now lower the threshold until the processor begins reacting to the excessive sibilance.
You do not necessarily want the de-esser working constantly.
The goal is for it to engage primarily when those problem sounds become too strong.
Watch the gain-reduction meter if your plugin includes one, but make the final decision with your ears.
Step 5: Use Only as Much Reduction as Necessary
This is one of the most important parts of the process.
Do not try to eliminate every trace of sibilance.
S sounds are a natural part of speech.
If you remove too much, the voice can begin to sound dull, lispy, unnatural, or disconnected from the original performer.
You are trying to control the distracting excess while preserving the character of the voice.
Don't Remove the Voice Along With the Sibilance
Every voice artist has a natural tonal character.
Some of that character includes the way consonants and high-frequency sounds are produced.
When setting a de-esser, I always consider how much of the sibilance is actually part of the person's natural sound.
The objective is not:
Remove all S sounds.
The objective is:
Reduce only the amount that distracts from an otherwise natural and professional voice recording.
That distinction is important.
Processing should improve the voice without removing the qualities that make the performer sound like themselves.
Step 6: Bypass and Compare
Once you think the settings are right, bypass the de-esser and compare the processed and unprocessed versions.
Ask yourself:
-
Is the sibilance less distracting?
-
Does the voice still sound open and natural?
-
Did I accidentally make the entire recording darker?
-
Does the processed version actually sound better?
If you are only noticing that the processed version sounds different, you may be using too much.
Do You Need Different De-Esser Settings for Different Voices?
Often, yes.
Even when using the same plugin, I would not expect identical settings to work for every voice-over artist.
Different voices may require different:
-
target frequencies
-
thresholds
-
reduction amounts
-
processing approaches
The microphone and the rest of the processing chain can also change what is necessary.
That is why I prefer to treat de-essing as a diagnostic process rather than relying on presets or universal settings.
Can You Use Dynamic EQ Instead?
Yes.
A dynamic EQ can often perform the same type of job as a traditional de-esser while providing more control over the exact frequency range and shape being affected.
That can be especially useful when the problem is more complex than a narrow band of traditional sibilance.
However, the same rule still applies:
Identify the problem first.
Then choose the processor that solves it with the least unnecessary damage to the rest of the voice.
The Most Important Rule for De-Essing Voice Over
If you remember one thing, make it this:
Do not start by asking what de-esser setting you should use. Start by asking what is actually causing the problem.
Once you understand that, the settings become much easier to determine.
The best result usually comes from:
-
Starting with the best raw recording possible.
-
Identifying the specific sibilant frequency.
-
Setting the de-esser to react only when necessary.
-
Using the minimum amount of reduction needed.
-
Preserving the natural character of the voice.
Want to Learn More About EQ and Frequency Processing?
De-essing is only one part of shaping a professional voice-over recording.
If you want to understand frequencies more deeply and learn how to make better EQ decisions, my EQ Fundamentals for Voice-Over training walks through the principles and techniques I use when processing voice recordings.