Voice-Over Production Workflow: The Right Order for Professional Audio
Aug 20, 2026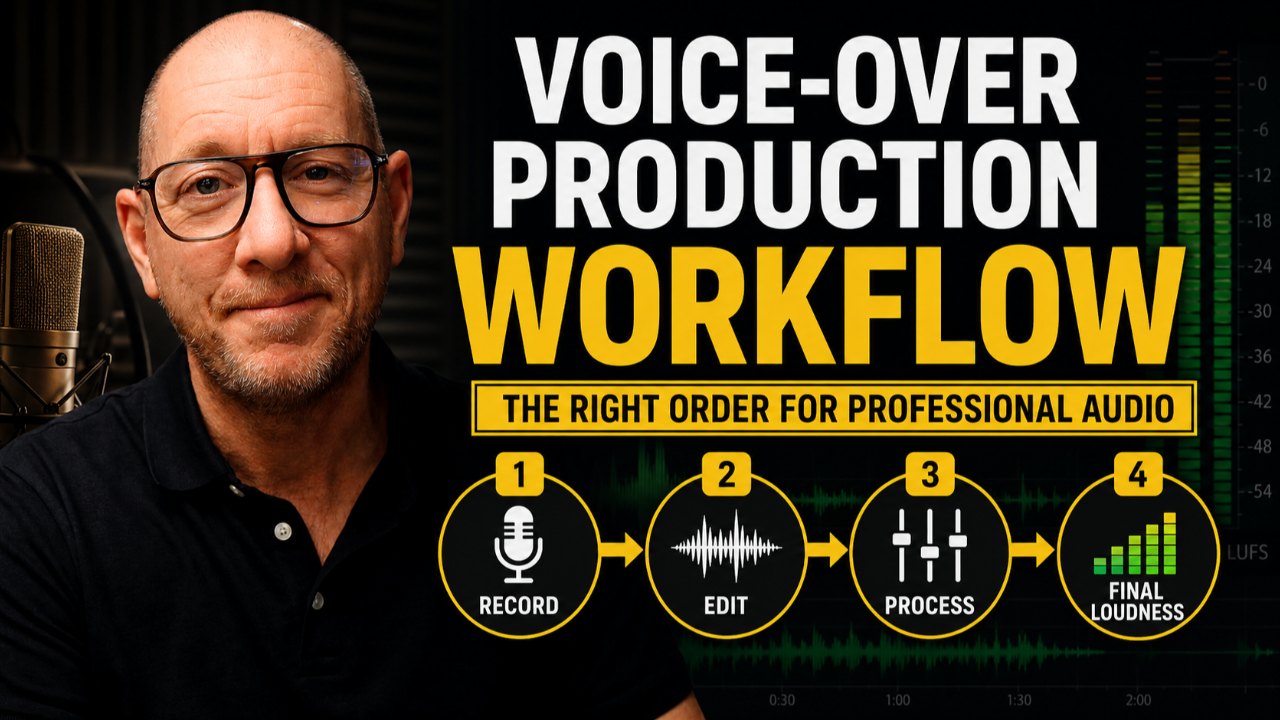
A professional voice-over recording is not created by one plugin, one microphone, or one processing preset. It is the result of a series of production steps performed in the correct order.
That order is your voice-over production workflow — your production procedure.
Workflow determines when you record, edit, process, and establish final loudness. When those stages happen in the wrong order, even good equipment and good processing can produce inconsistent results and less-than-optimum audio quality.
This is one of the most overlooked parts of self-producing voice-over.
What Is a Voice-Over Production Workflow?
A production workflow is the repeatable order of operations you follow to turn a raw voice recording into a finished deliverable.
It is your procedure for knowing what happens first, what happens next, and what should not happen until the previous stage is complete.
That matters because workflow affects more than organization. It affects predictability, reliability, consistency, and audio quality.
A poor workflow can force one stage to compensate for mistakes made in another. A good workflow gives every stage the right input and allows each part of the production process to do its job properly.
The sequence matters.
Why the Order Matters
A voice-over production workflow is not just a checklist.
Each stage prepares the audio for the next one.
Stage 2 should not happen before Stage 1 is complete. Stage 3 should not happen before Stage 2. Stage 4 depends on the audio being properly captured, edited, and processed first.
When that order is disrupted, the final result can suffer.
The larger principle is simple:
Do not ask one stage of production to do the job of another stage.
Recording has one job. Editing has another. Processing has another. Final loudness has another.
Professional consistency comes from letting each stage do its work in the proper order.
Stage 1: Record the Performance at the Proper Level
Stage 1 has two priorities:
Capture the intended performance.
Capture it at the proper recording level.
Your microphone technique, distance from the microphone, controlled recording environment, and healthy input gain all matter because they determine the quality of the source audio.
The goal is to perform the script correctly while setting your input gain so that your strongest natural peaks approach –6 dB without exceeding it.
Much of your normal speech will naturally sit below that level.
At this stage, you are not trying to create final loudness. You are trying to capture the best possible raw performance with a healthy recording level and enough headroom for everything that follows.
For a deeper explanation, see What Is The Best Recording Level For Voice-Over?.
Stage 2: Edit the Performance
Stage 2 is editing.
This is where you cut, copy, paste, remove unwanted silence, remove mistakes, select takes, and make sure the recording accurately reflects the script and the performance you intended to deliver.
The objective is simple:
Create the finished performance before you begin processing it.
You should know that the words, timing, pauses, takes, and structure of the recording are correct before moving to the next stage.
Stage 2 must happen after Stage 1 because you need a completed recording before you can edit it.
And Stage 3 should not begin until Stage 2 is complete because you want to process the final edited performance — not a version that is still changing.
Stage 3: Apply Audio Processing
Stage 3 is where you apply your processing.
This may include EQ, compression, de-essing, noise control, limiting, or other processing tools depending on the voice and the project.
The important thing is that the audio entering the processing chain should already be healthy.
If your recording level was established correctly in Stage 1, the strongest peaks entering your plugins should be around –6 dB.
And if your processing chain is designed and gain-staged properly, the processed audio should generally come out of the chain still peaking at, or very near, –6 dB.
That is important.
Processing is not automatically the loudness stage.
The purpose of processing is to shape, control, and improve the sound while preserving a healthy working level.
A common mistake is allowing the processing chain to make the recording progressively louder simply because each plugin adds gain. That can create inconsistency and make the next stage harder to control.
At the end of Stage 3, the voice should sound improved and controlled — but it still does not need to be optimized for final loudness.
Stage 4: Establish Final Loudness
Stage 4 is where you create the final loudness required for the job.
This may mean satisfying a delivery specification from a platform, publisher, client, or distribution service. Different destinations can have different loudness requirements or standards.
For example, audiobook platforms such as ACX have delivery specifications. Other destinations — including streaming, video, broadcast, and online platforms — may have their own requirements or expectations.
In some situations, you may simply want the finished voice-over to sound appropriately competitive next to other professional content.
This is where final gain, limiting, normalization, loudness measurement, or mastering techniques may be used to bring the completed recording to its intended delivery level.
The important distinction is that this happens after recording, editing, and processing.
Trying to create final loudness during Stage 1 is one of the most common workflow mistakes because it asks the recording stage to perform the job of Stage 4.
I explain that distinction further in Recording Level vs. Loudness for Voice-Over.
The Four-Stage Voice-Over Workflow
The workflow is straightforward:
1. Record the performance at the proper level
2. Edit the performance
3. Apply processing
4. Establish final loudness
Each stage has a specific job.
And each stage depends on the previous stage being completed properly.
That is why the order matters.
Workflow Promotes Better Audio Quality
A good workflow does more than make production easier to remember.
It helps protect audio quality.
When the recording level is correct before processing, your plugins receive the signal they were intended to work with. When editing happens before processing, you are processing the finished performance rather than changing the structure afterward. When loudness happens last, you can make that decision based on the completed audio instead of guessing during capture.
That creates a more predictable and repeatable production process.
It also reduces the need to repair problems created earlier in the chain.
Your Equipment Cannot Replace a Good Workflow
A better microphone will not tell you when to edit.
A better preamp will not tell you when to process.
A processing preset will not tell you when to establish final loudness.
Your equipment and software matter, but they operate inside a larger procedure.
That is why someone can own excellent gear and still struggle to produce consistent professional results.
Sometimes the missing piece is not another microphone, interface, or plugin.
It is the workflow.
Learn My Complete Voice-Over Production Workflow
If you want to learn the complete production procedure I use, I teach it in my Beginning Voice-Over Production Workflow course.
The course walks through the order of operations in detail so you understand not only what to do, but when to do it and why the sequence matters.
Learn About the Beginning Voice-Over Production Workflow Course